Fall is one of my favorite times of year. The leaves turn such interesting colors here in Washington. I looked out my 6th floor window this afternoon and noticed that the trees across the street were a mixture of gold, and red.
And even though it was raining hard, the colorful leaves were just stunning!

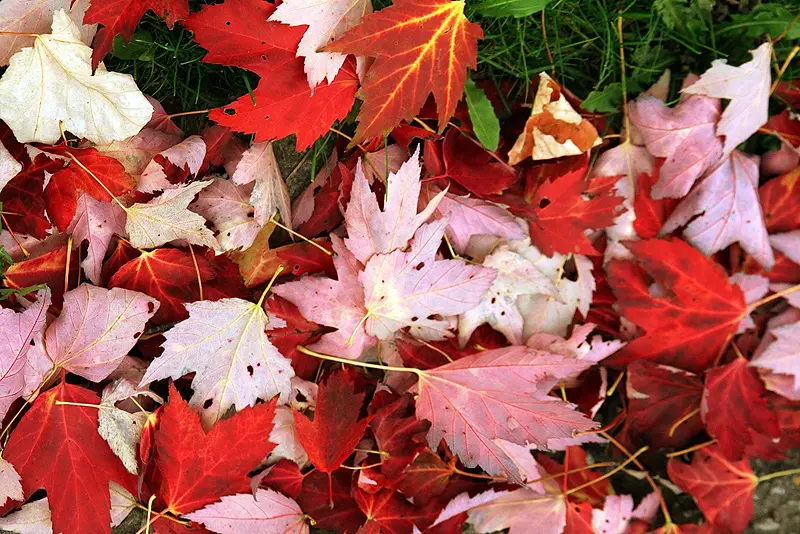
Preserving Fall leaves is one of the best ways to decorate your home during the autumn months.
You can use your preserved leaves to:
- Make wreaths
- Decorate your fireplace mantle
- Make a centerpiece for your dining room table
- Use them as part of your outdoor yard decor
The choices for what to do with your preserved Fall leaves are endless, and only require a bit of your own imagination.

Here’s how to preserve colorful leaves…
The Best Fall Leaves To Collect
First, you need to go out and collect some colorful leaves.
When gathering Fall leaves, there are a few things you want to keep in mind:
- Don’t pick up leaves that are already dried out and curled at the corners.
- Don’t pick up leaves that have brown spots as the decaying process has already begun to take place.
- Try to find leaves that are flat and have the least amount of damage from for example being stepped on by passersby, or rain.
4 Simple Ways To Preserve Leaves
Okay, now that you’ve collected some leaves, it’s time to begin preserving them.
Here are 4 ways to preserve your collection of Fall leaves…
#1 – Pressing leaves the easy way.
Pressing leaves with books is one of the oldest techniques when it comes to preserving your Fall leaves, but it’s not the best one.
Why not? Because this method doesn’t actually do anything to keep the Fall leaf looking its best. (You’ll see what I mean when we get to the next technique.)
Here’s how to do it:
- Put your leaf between 2 sheets of white typing paper, and make sure that none of the corners are turned up.
- Then lay something heavy on top to press the leaves between the 2 sheets of paper.
- In a week, check on your progress. If the leaves still are moist or damp, and haven’t dried out yet, then leave them for another few days until they are.
Once they’ve dried out, your pressed leaves are ready to be used for crafts.
#2 – Pressing leaves the advanced method.
This method — which requires you to press your Fall leaves with an iron — is my favorite.
Here’s how to do it:
- After cleaning off your leaves so they don’t have any dirt or other stuff on them, lay them out on a piece of wax paper that is on top of an old towel or some other thick piece of cloth.
- Then, lay another piece of wax paper on top of your Fall leaves.
- Now, lay another towel on top of these — so the leaves and wax paper are sandwiched between the 2 towels.
- Then, set your iron on medium, and very carefully iron the top towel. The idea is to melt the wax around the leaves, but be careful when doing this — because you don’t want to scorch the wax. Also, you don’t want any steam — so no water in the iron!
- Once the wax has melted around the leaves, let it cool. Then, cut out the leaves from the wax — just leave a border of wax around the leaves. If you cut too close to the leaf, you could end up with a hole where moisture get in and damage the leaf.
#3 – The glycerin and water method of preserving leaves.
This is one of the best ways to preserve Fall leaves because the leaves look the most natural and last the longest.
Here’s how to do it:
- Soak your leaves in a flat glass dish — such as a baking dish that will hold a solution of glycerin and water. Make sure when you do this that you have twice as much water as glycerin.
- In most cases, the leaves will start to float to the top. In that happens, add a smaller glass dish on top to weigh them down.
- Let your leaves sit for 6 or 7 days. During this time, the leaves will soak up the glycerin and water — which will make them supple and flexible for many years.
#4 – Using the microwave to preserve leaves.
This method will not preserve your Fall leaves indefinitely. However, it will preserve them for the length of time you want to use them decorate for the current Fall season.
Here’s how to do it:
- First, dust off any dirt, and/or used a damp paper towel to gently clean any dirty leaves.
- Lay a paper towel on the floor of your microwave, and then put one leaf on it.
- Put another paper towel over the leaf, then a heavy glass bowl that’s microwave safe on top of that, and microwave the leaf for 30 seconds.
- Check the leaf for dryness. If it’s still not dry, then microwave for another 30 seconds.
Be sure to watch your leaf in the microwave very carefully — because it’s possible for a leaf to catch on fire if it gets too dry!
All of these methods will adequately preserve your Fall leaves, though some (such as the glycerine and water method) are better than others since the preservation lasts longer.
Whichever method you choose, preserving your Fall leaves for both decoration and memories is just one of the many ways to celebrate the colorful Fall season.